Overview
The stage is a real-time view into CueServer’s input, output, and layers between. The interface provides tools and routines to quickly record, play-back and create new content.
At the heart of the stage is a grid of channels. Each channel displays identifying information, the current value, and information about its current state. Channel values are color-coded to indicate the playback from which their value is sourced, and can be displayed in various formats.
Depending on the selected View Settings, the stage will display information from the input ( ![]() ), active playback (
), active playback ( ![]() ), or composite output (
), or composite output ( ![]() ).
).
The control ribbon along the top of the stage view provides easy access to view controls, available playbacks, selection tools, and other quick actions (covered below).

Channels
Each channel in the grid displays its current value and information about its current state. The color used to display a channel’s value indicates the playback from which that channel’s value is sourced.
In the example below, channels 1>10 appear with blue text indicating their values originate in Playback 1, while channels 41, 43, 45, 47, & 49 have green text indicating they are sourced from Playback 2.
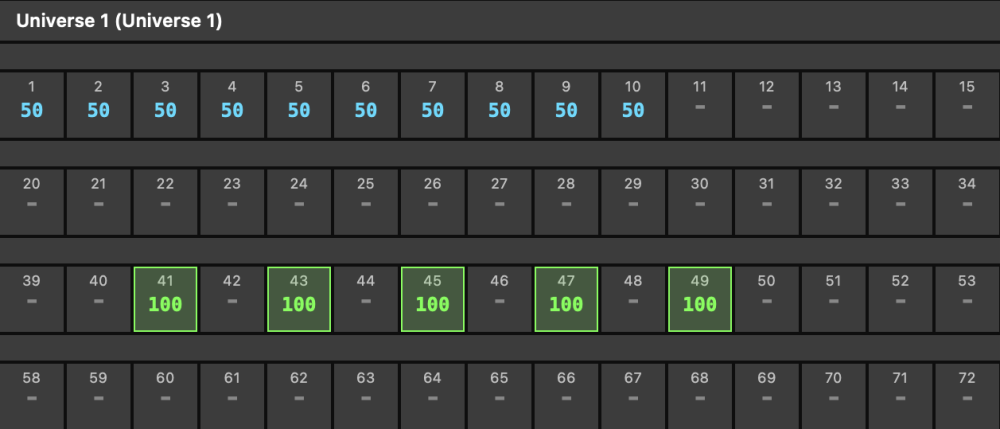
The current selection is also depicted in the stage and can be modified via CueScript, or by selecting channels and fixtures directly. The selection is color-coded to the current playback to indicate where modifications will take effect (seen as a green highlight around the selected channels in the image above). Actions, such as adjusting channel values, can be performed directly from within the stage interface.
Channels may have a visually distinct background or text color indicating that they are in a specific state:
| |
Parked channels appear with a red background |
| |
Locked channels appear with all-yellow text |
| |
Disabled channels appear with a darkened appearance |
| |
Masked channels appear with a crosshatch |
Fixtures
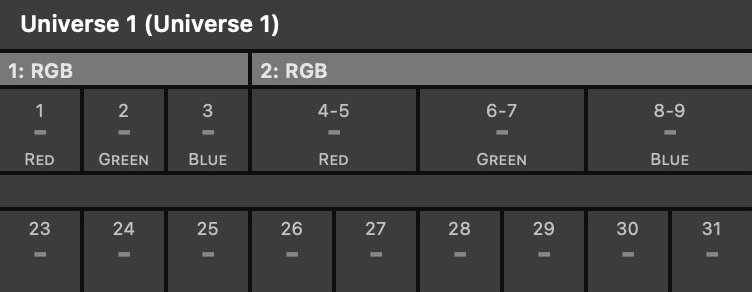
When fixtures are patched, they will appear above the channels to which they are patched in the stage. Information about patched channel’s function will be visible within the channel, if provided by the fixture patch.
In cases where channels are combined in 16, 24 or 32 bit configurations, those channels will be stitched together into a single contiguous block to indicate that they are operated as a single unit.
Fixtures with color attributes will display the current approximate fixture output color based upon the current channel values in the visible layer (this setting can be disabled via the gear menu).
Fixture titles used in the stage view come from the fixture profile, however, a custom name can be specified for each fixture in the fixture patch, which if specified, will be displayed instead.

When one or more fixtures are selected, and the fixture panel is enabled (via the gear menu), a panel of controls for the selected fixtures will appear in a panel to the right. If channels are selected and are patched to a fixtures, the appropriate controls for the selected channels will appear.
Choosing the Visible Layer
Use the View Settings selector to choose which layer of the DMX composition is being shown:

The view options are:
- Input (
![]() ) – This view shows any DMX values that are being input into the device.
) – This view shows any DMX values that are being input into the device. - Active (
![]() ) – This view shows DMX values that are present in the active Playback Fader.
) – This view shows DMX values that are present in the active Playback Fader. - Active + Effects (
![]() ) – This view shows DMX values that are present in the active Playback Fader + the output of the Playback’s combined effects.
) – This view shows DMX values that are present in the active Playback Fader + the output of the Playback’s combined effects. - Output (
![]() ) – This view shows the final composite DMX values that are being output from the device.
) – This view shows the final composite DMX values that are being output from the device.
Choosing the Active Layer
Use the Active Layer menu to choose which Playback is currently Active:
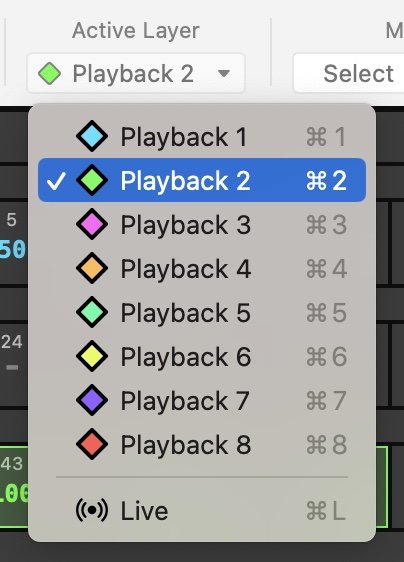
The layer options are:
- Playback n – Sets the selected playback as active.
- Live – Sets the Live playback as active (default).
Any actions taken, via the UI or CueScript, will be executed within the Active Layer. When changed from this menu, any current selection will be retained, but will target the the newly active Playback.
Choose Stage Settings
Use the ![]() menu to choose how the stage displays information.
menu to choose how the stage displays information.
The display options are:
- View as Percent – This mode shows channel levels as a percentage. Values range from 0 to 99, and then FL (meaning Full, or 100%).
- View as Decimal – This mode shows channel levels in decimal format. Values range from 0 to 255.
- View as Hexadecimal – This mode shows channel levels in hexadecimal format. Values range from 00 to FF.
- View as Bar Graph – This mode shows channel levels in a bar-graph format.
- Enable Fader Panel – Shows or hides the fader wheel panel.
- Enable Fixture Panel – Shows or hides the fixture controls panel.*
- Additive Selection – Enables/Disables the additive selection mode.
- Channel Selection – Enables/Disables channel selection.*
- Local Channel Numbers – Enables/Disables local channel numbers.
- Show Unpatched Channels – Shows/Hides channels that are not patched to fixtures.*
- Show Fixture Colors – Shows/Hides the approximate color based on a fixtures attributes.*
- Fixture Layout – Additional visual layout configurations for how fixtures are laid out.*
*only available while fixtures are patched
Using the Select Menu
Use the 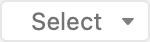 menu to make quick selection modifications.
The Select menu will operate differently depending on the current selection. If there is an existing selection, this menu operates as a filter for that selection. If there is not and existing selection, this menu operates as a selection operation.
The selection operations are:
- All – Selects all channels or fixtures.
- Active – Selects active channels or fixtures.
- Even – Selects even channels or fixtures
- Odd – Selects odd channels or fixtures.
- Every 3rd – Selects every 3rd channel or fixture.
- Every 4th – Selects every 4th channel or fixture.
- Random – Selects an assortment of channels or fixtures at random.
- Next – Shift the current selection 1 place forward.
- Previous – Shift the current selection 1 place backward.
- Group n – Selects the channels or fixtures contained in the selected Group.
- From Cue n – Selects the channels or fixtures contained in the selected Cue.
- Clear Selection – Clears the current selection.
- Undo Selection – Undo the most-recent selection change.
- Redo Selection – Redo the most-recent undo operation.
- Select Effects – Selects the active playback effects and opens the effects panel.*
*only available while fixtures are patched
Using the Edit Menu
Use the  menu to take quick actions on the current selection.
The operations are:
- Copy / Paste – Copy or paste the selected channel or fixture values.
- Release – Released the selected fixtures or channels.
- Park / Unpark – Parks or Unparks the selected channels or fixtures (only visible in live or output layer).
- Lock / Unlock – Locks or Unlocks the selected channels or fixtures (only visible in active layer).
- Enable / Disable – Enables or disabled the selected channels or fixtures (only visible in active layer).
- Rem Dim – Remainder DIM turns all but the current selection off.
- Assert – Raises the priority of selected LTP channels or fixtures in the active playback fader
Using the Effects Button
Use the ![]() button to open the effects panel for the active playback.
button to open the effects panel for the active playback.
Record and Playback Tools
Use the 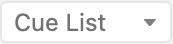 menu to choose the currently active Cue List.
The active Cue List defines where Cues will be played from, captured to, or updated. These options include any defined Zones, Cue Stacks, and the standard Cues list (default).
Use the 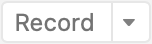 button to open the record panel, or update an existing Cue in the active Cue List.
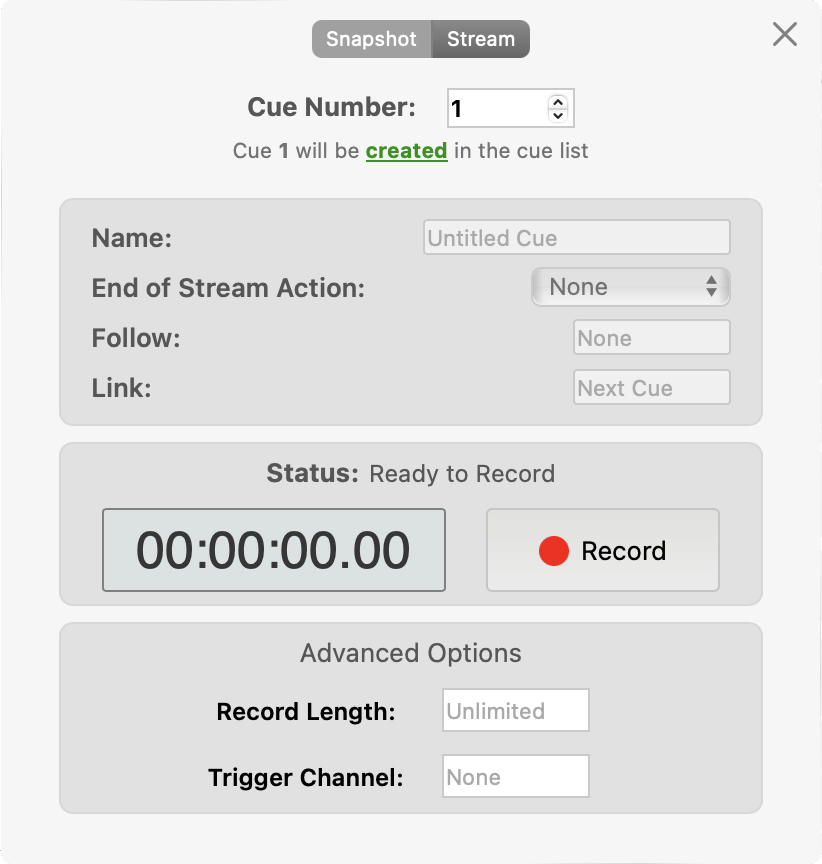
The record panel allows you to provide, or update, Cue properties such as the name, number, fade, follow, and the link cue in addition to capture or re-capture a Cue’s contents. The Capture and Source menus can be used to refine what gets captured into the Cue, and from where.
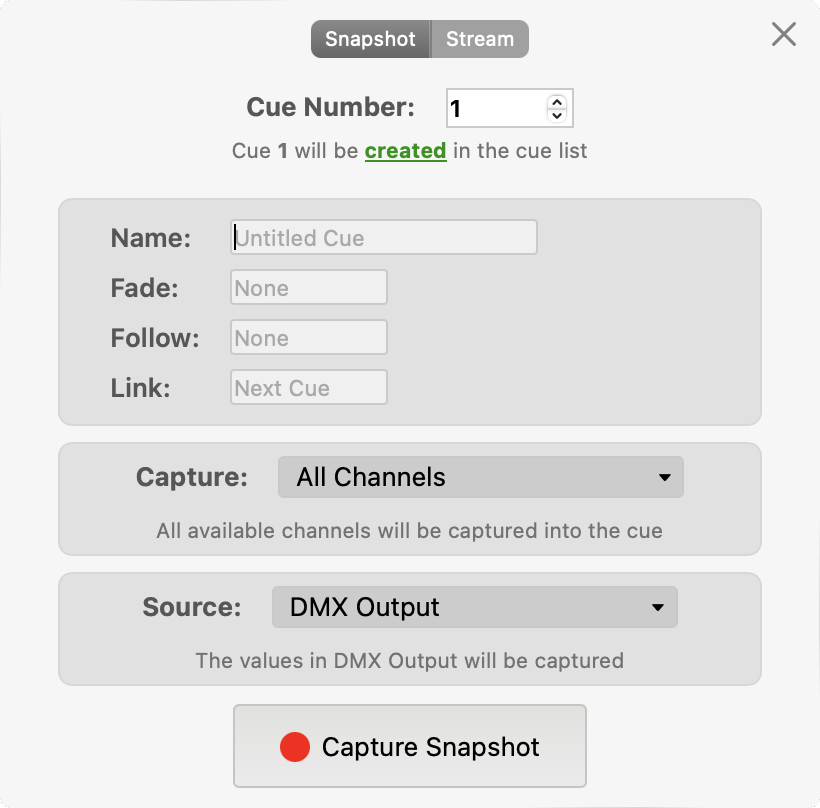
If capturing or updating a streaming Cue, you can choose the End of Stream Action and define a Record Length or Trigger Channel to ensure you capture (or re-capture) a precise number of frames.
Use the 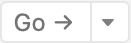 button to execute the next Cue, or launch a specific Cue from the active Cue List.
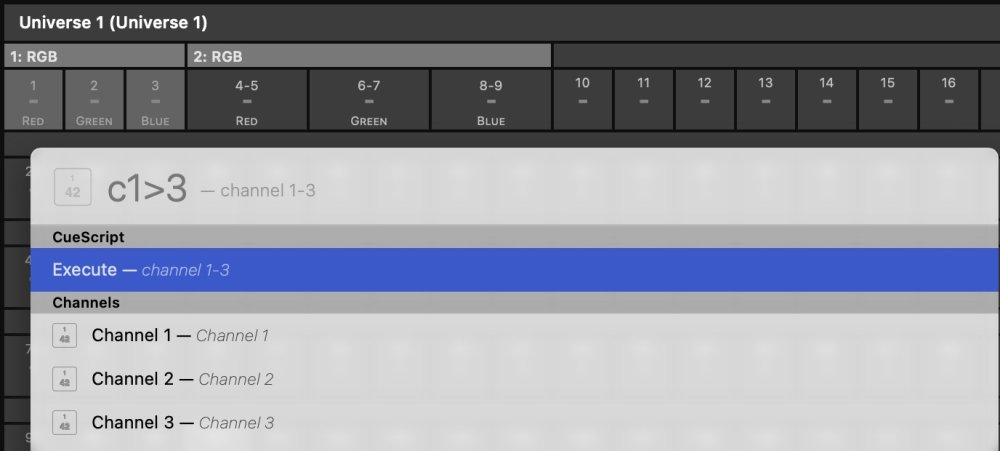
Using the Search Feature
Use the ![]() feature to find items or execute CueScript selectors.
feature to find items or execute CueScript selectors.
The Search panel highlights channels or fixtures that match your query as you type and provides a listing of the matching items which can be selected to highlight and bring them into view. You can also execute your query as CueScript directly from the search panel.